Blog
ASCI Staff Enjoys Virtual DIY Apple Making!
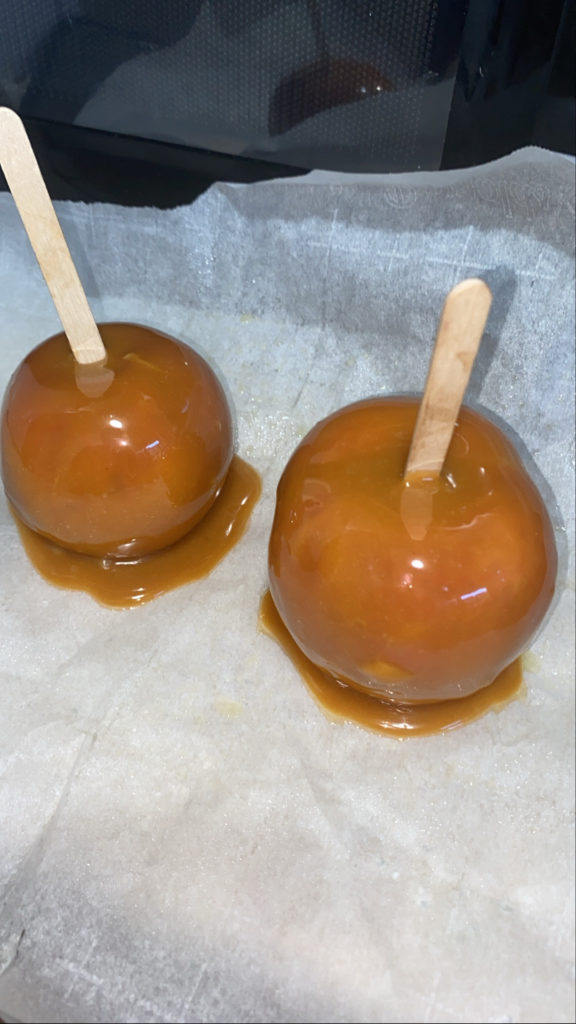
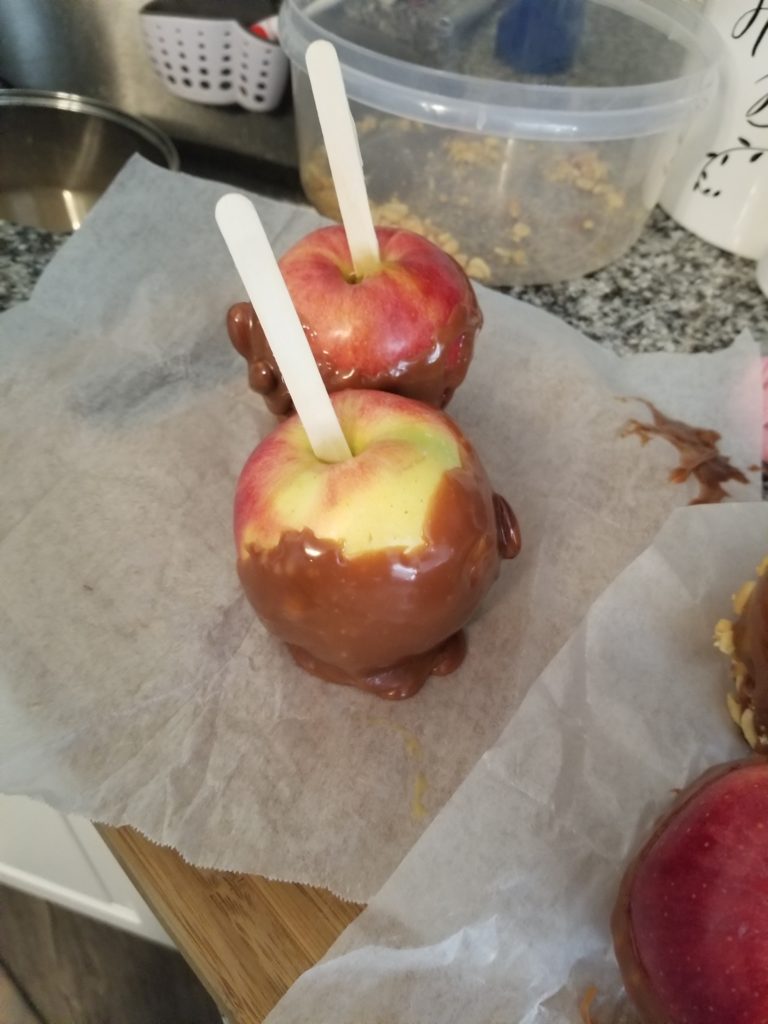
On October 9, staff enjoyed a virtual DIY caramel apple-making event as part of our weekly wellness offerings. Through Microsoft Teams, staff enjoyed friendly conversations while making this tasty fall treat! For many ASCI staff members, this was their first time doing this. They shared this sweet moment with one another as well as their children at home. Check out some of the beautiful creations they were able to make!
Shamena Thomas, Benefits Manager IV and coordinator of the event, says, “It’s not about the look for most of these apples. They’re still going to taste good. These apples are very special, and I am so happy to spread joy through our staff members.”
Check out the unique creations below!


How to Make Caramel Apples:
Provided by Cooking Classy
Ingredients:
- Store-bought caramels – Use Werther’s Chewy Caramels for best results.
- Apples
- Heavy cream – Evaporated milk or water will work, too.
- Optional toppings – You can also customize these with optional toppings to take them over the top, too.
Directions:
- Prepare apples: Rinse and thoroughly dry apples with a paper towel. Insert a wooden stick into center of each apple. Have toppings ready if you’ll be adding some to apples.
- Prepare pan to rest apples on: Line a 13 by 9-inch baking sheet or baking dish with a sheet of parchment paper, spray parchment paper with non-stick cooking spray, set in the fridge.
- Add caramels and cream to bowl: Place caramels and heavy cream in a microwave safe bowl (about 5 cup size bowl).
- Melt in microwave: Heat in microwave in 30 second increments, stirring well between intervals, until melted and smooth. This will take about 2 – 3 minutes. If it’s extra runny let it cool just briefly so caramel doesn’t run right off the apples.
- Dip apples in caramel, roll in toppings: Dip apples one at a time into caramel on an angle so it covers nearly to the top center (or all the way to the top if you don’t care to have apple showing through). Rotate and turn to coat apple.
- Lift apple and let excess caramel run off, then run bottom of apple along inside edge of bowl to remove excess caramel.
- Lift apple and turn apple upside down to let caramel run up the apple a little, then immediately roll in toppings (or sprinkle with toppings) before caramel sets.
- Repeat process: Turn apples upright and place on prepared baking sheet in fridge, repeat process with remaining apples. As needed reheat caramel in microwave in 15 second increments for a runny, dip-able consistency.
- Let caramel set in fridge: Allow caramel to set completely, about 30 minutes in the fridge (you can eat them before this but if you want caramel to firm back up the wait the 30 minutes). Cut apples into slices just when ready to enjoy so they don’t brown.
The opinions expressed are solely those of the author and do not necessarily reflect the views of A Second Chance, Inc.